
|
|
|||||||
| Members Projects Follow the progress of our members projects. |
 |
|
|
Thread Tools | Display Modes |
 23rd September 2008, 10:03 PM
|
#1 |
|
Officially NOT in Wales!

UK Spec - Manual Join Date: Oct 2005
Location: Bristol
Posts: 4,130
|
I've always wanted to design and build my own boot build for the supra. My criteria was:
+ had to be as OEM looking as possible + as stealth as possible + as practical as possible. I spent alot of time looking around the internet and working out how I was going to mount the sub and still maintain the boot blind. Although fibreglass seemed to be a popular choice I'd prefer to stick to MDF  This way was messy enough but if I would've went down the fibreglass route, I'd still be doing it now! This way was messy enough but if I would've went down the fibreglass route, I'd still be doing it now!This isn't a step by step on how to do it, more of a 'behind the scenes' look at what I done. I don't confess to being an expert so the following pictures aren't that great The hardest part of the job was the fact that most measurement and positions relied upto another measurement which relied upon another measurement (you get the idea). This meant that most of the MDF had to be test fitted before finally fitting it into place. The first place to start was the sub. The base was fairly straight forward: 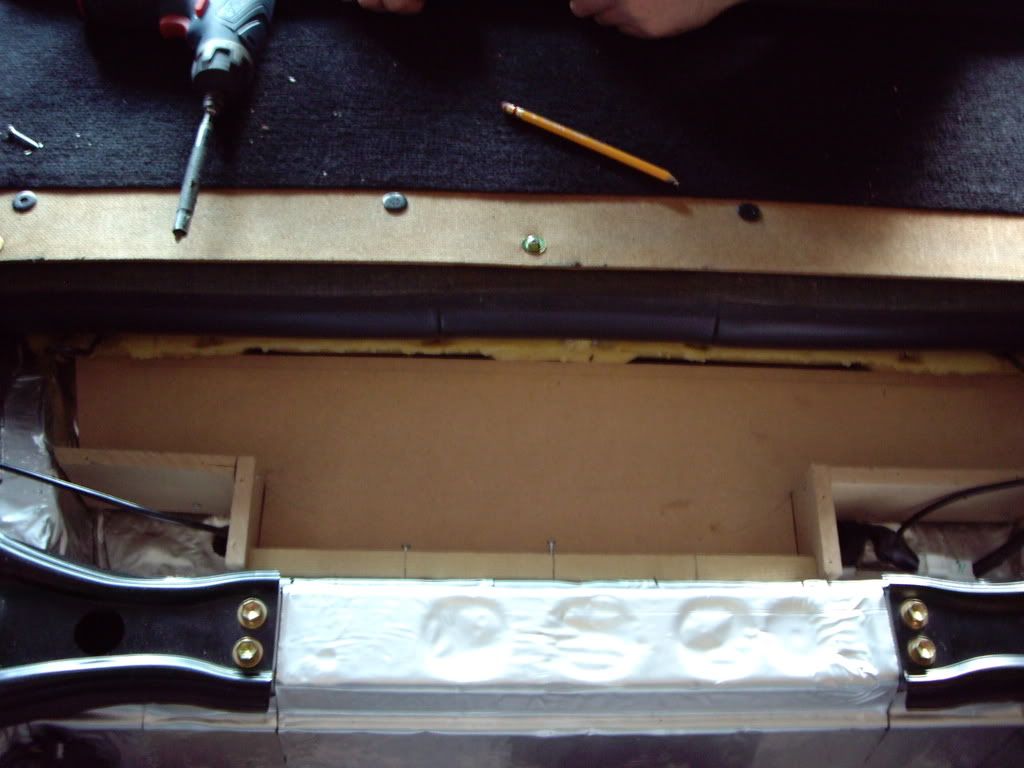 As the sub box needed to be air tight I needed to box around the relevant parts and cables: 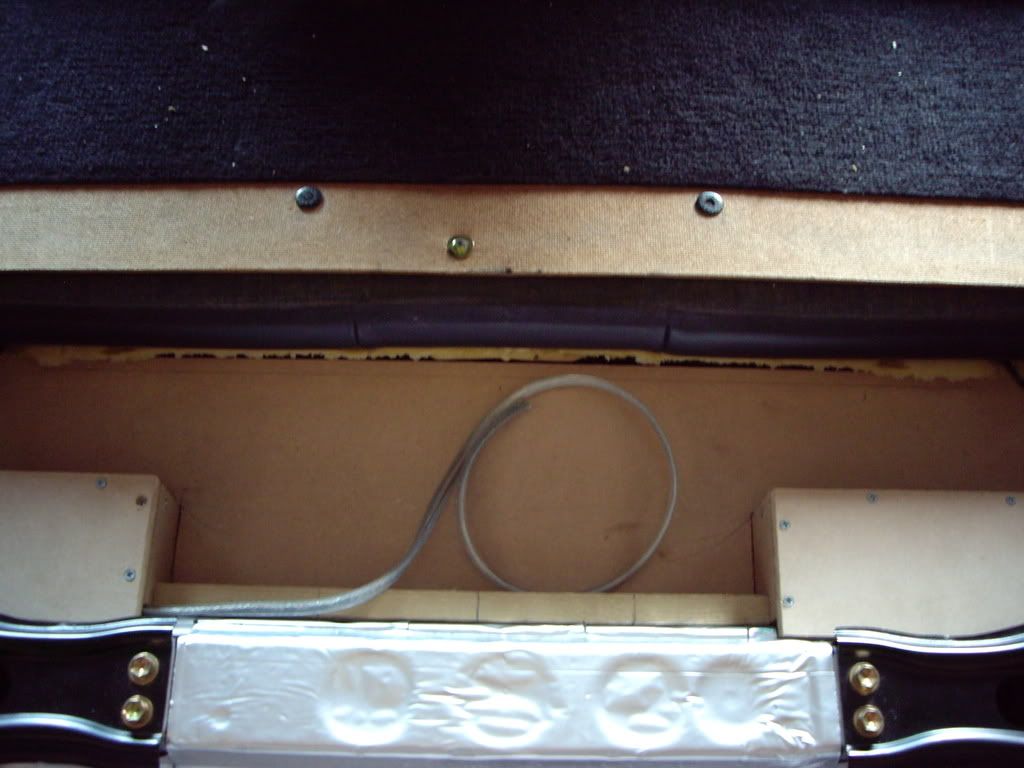 I originally had a CD multichanger in the boot which I wanted to keep and tuck away somewhere. As you can see in the picture below I opted for the driver's side of the car as that's the side of the car I ran the non voltage cables down. I wanted to make full use of all the space and realised the strut mounts were always going to be in the way so I had to fit my gear above it: 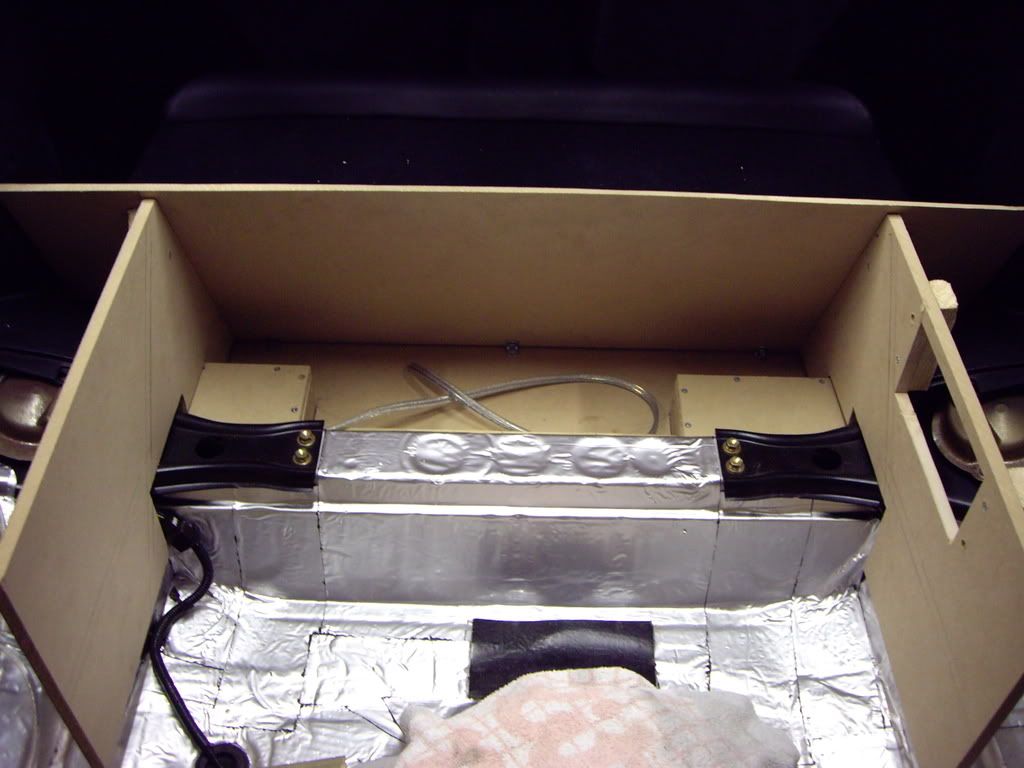 Here you can see the batten which is where the front of the box is going to fit. This had to be the right angle so the sub magnet wouldn't hit the back of the box, but the wood would fit under the rear seat part: 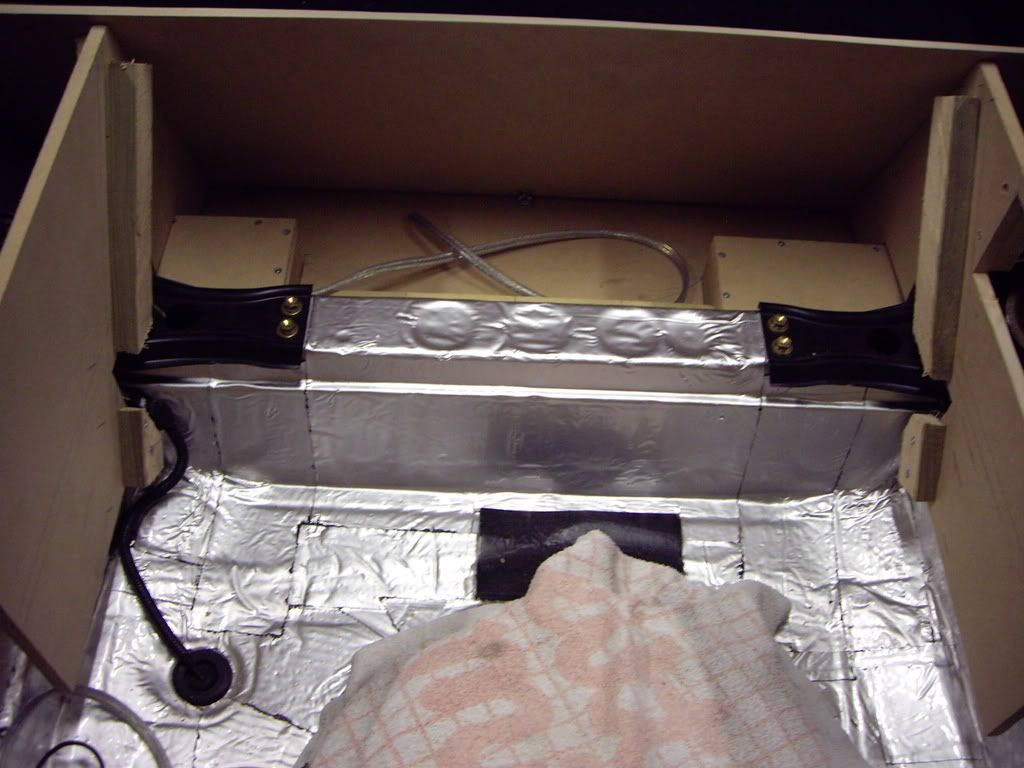 Front plate made: 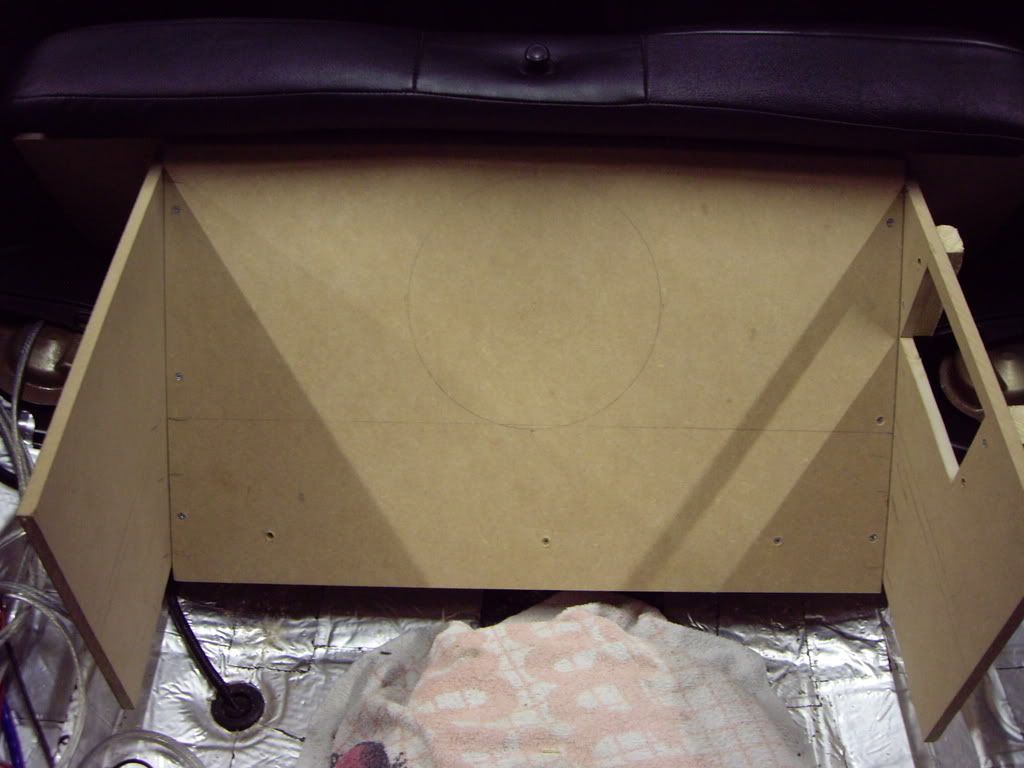 Drilling the hole for the sub took ages to work out as too low and the sub would sit under the next part of the wood, too high and it wouldn't be covered by the blind:  Another picture. You can also see the expandable foam at the bottom, helping to keep it air tight: 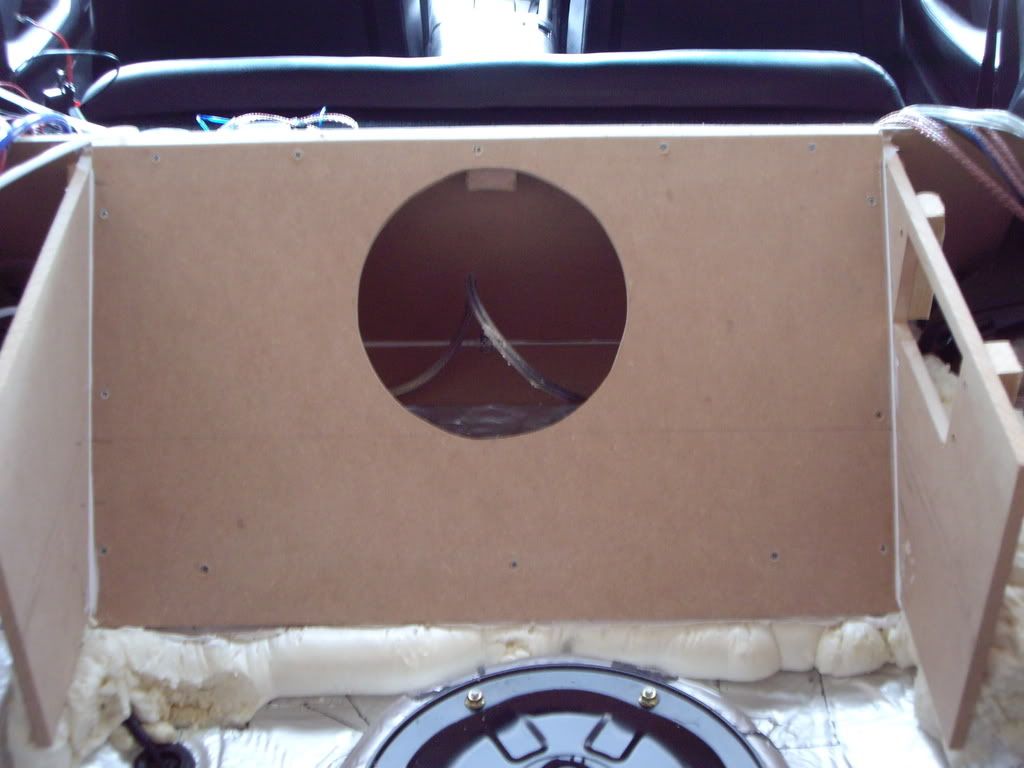
__________________
Kev To be single is to be skint
|

|

|
|
23rd September 2008, 10:17 PM
|
#2 |
|
Officially NOT in Wales!
UK Spec - Manual Join Date: Oct 2005
Location: Bristol
Posts: 4,130
|
I used fire rated acoustic sealant around every gap and on the back of the front plate before fitting it all together:
 Test fitting the sub:  That was the easy bit. I now had to build a section to hold my multichanger whilst still giving me access to the sliding door and magazine part: 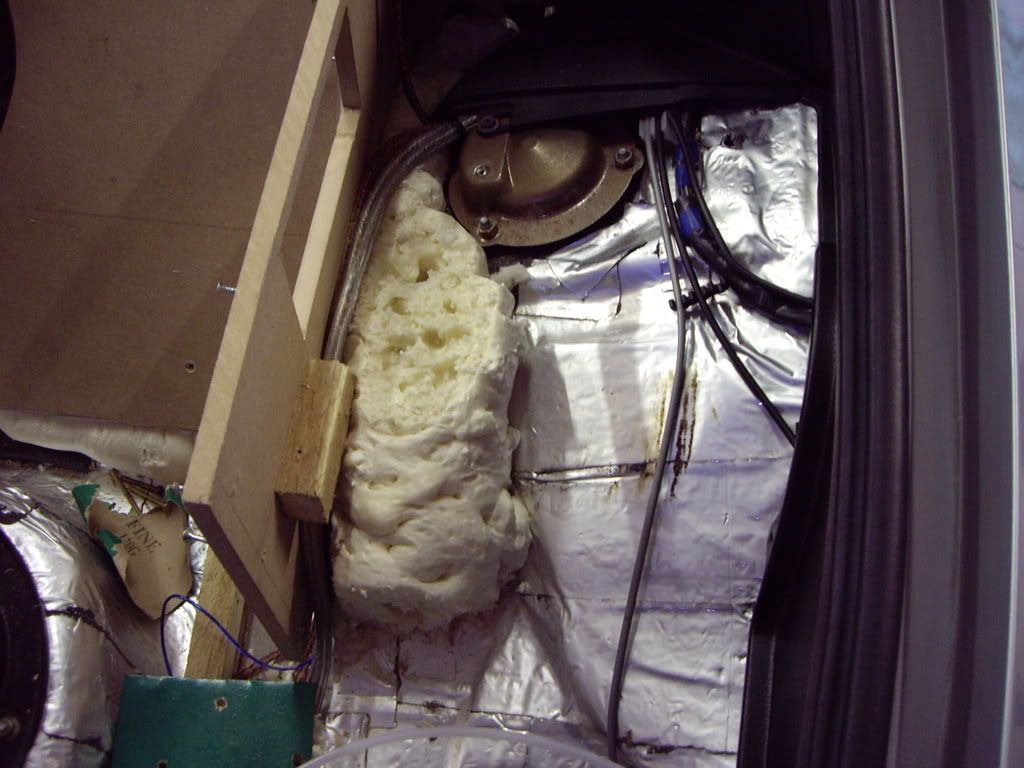 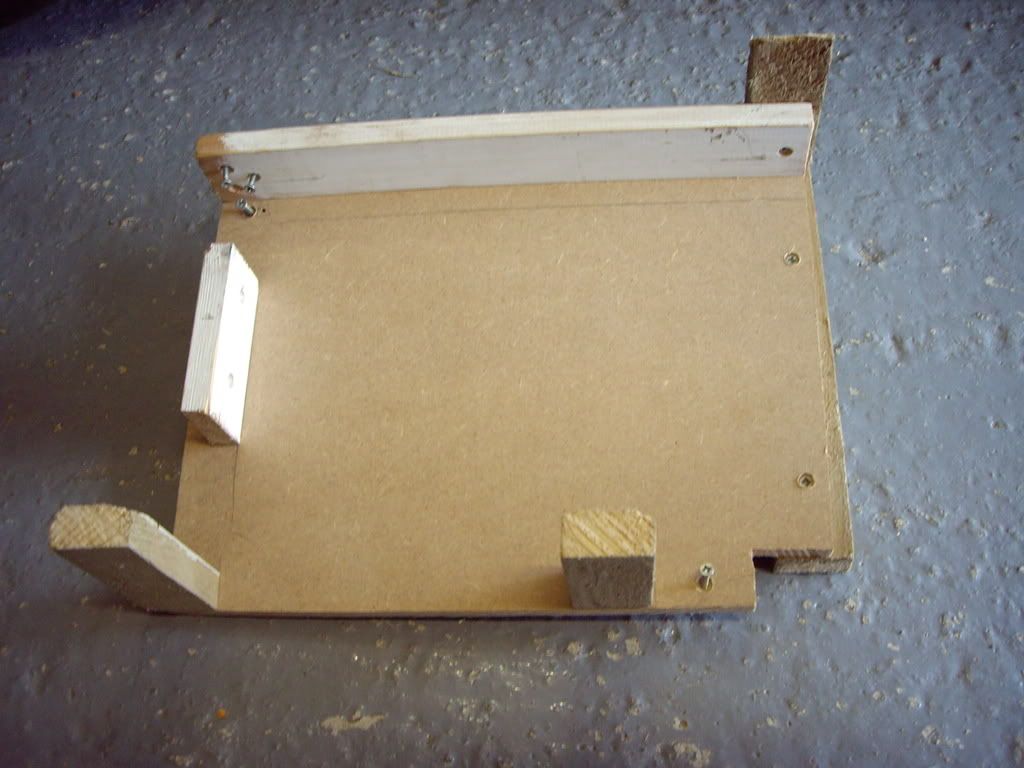 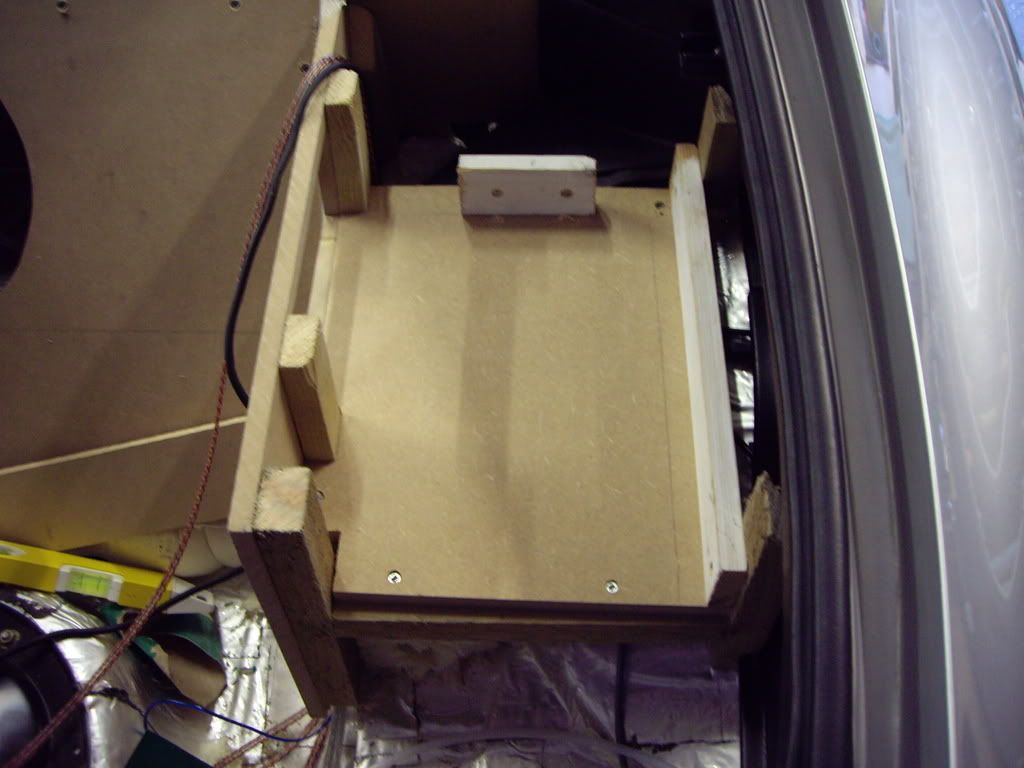 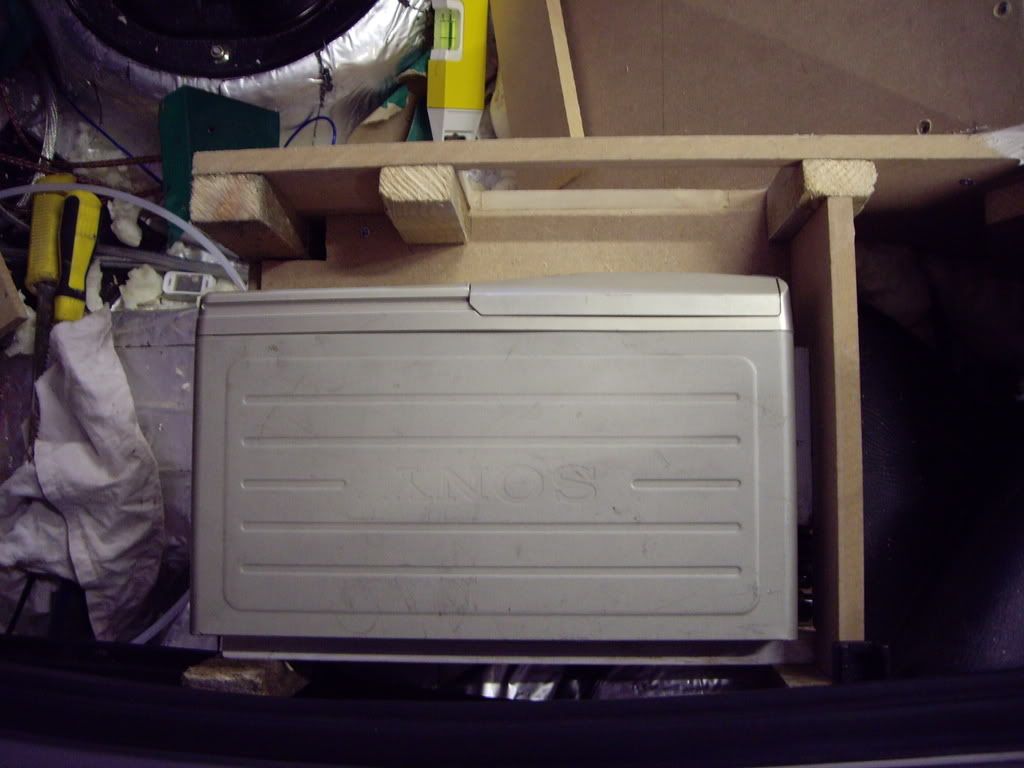 You can just make out in the bottom corner the holes where I used M4 screws to hold the multichanger in place: 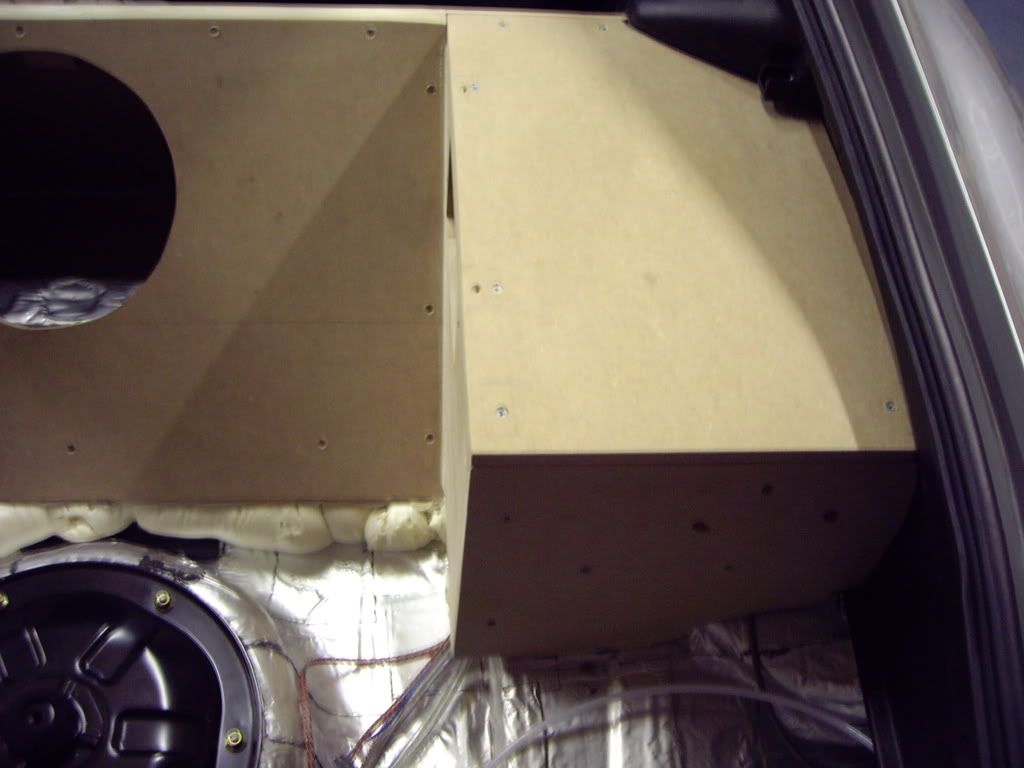 The finished result: 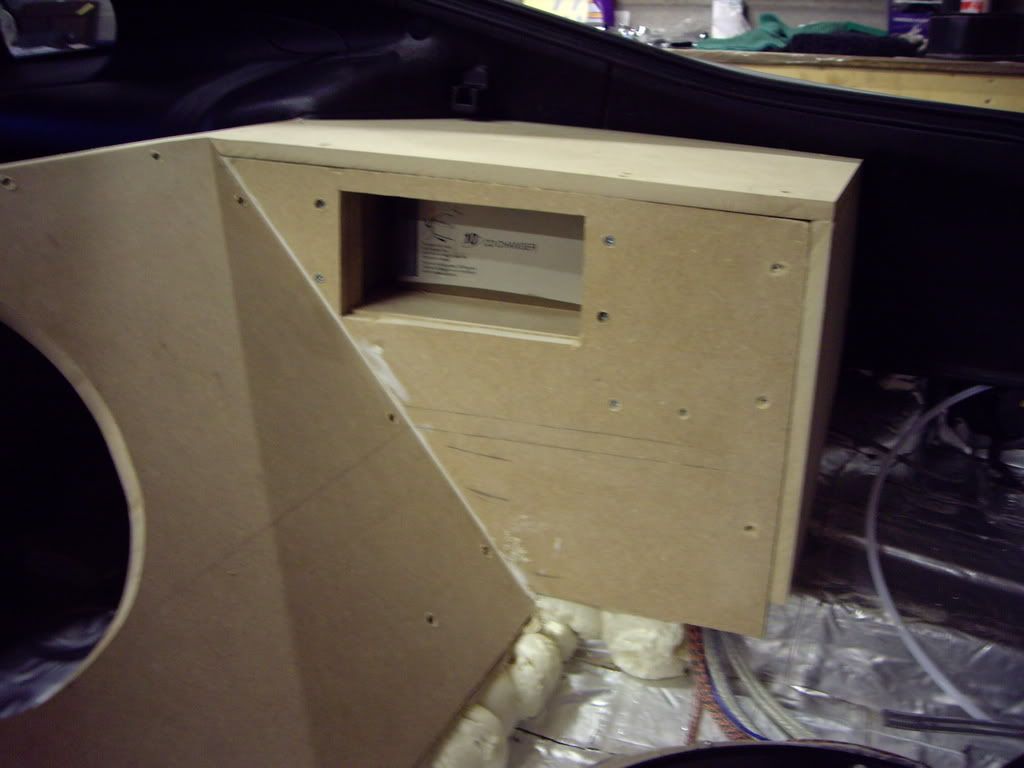 As I had to sacrifice my spare wheel I wanted to build somewhere to store my tire weld (and small fire extinguisher) so the otherside seemed the logical choice: 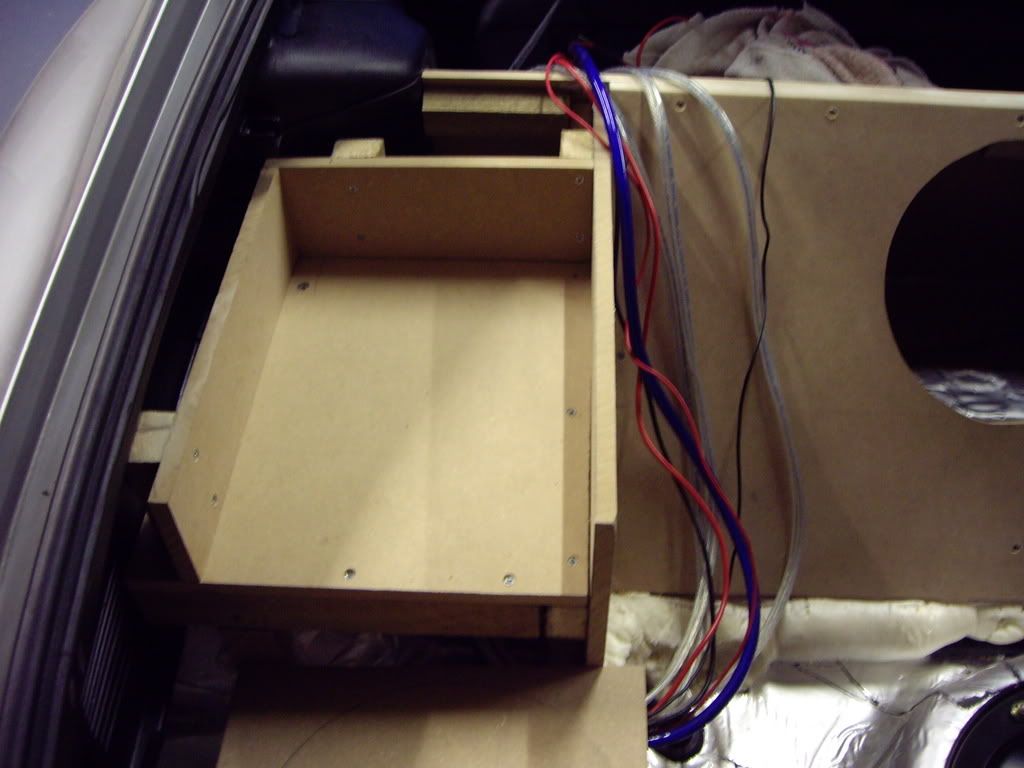 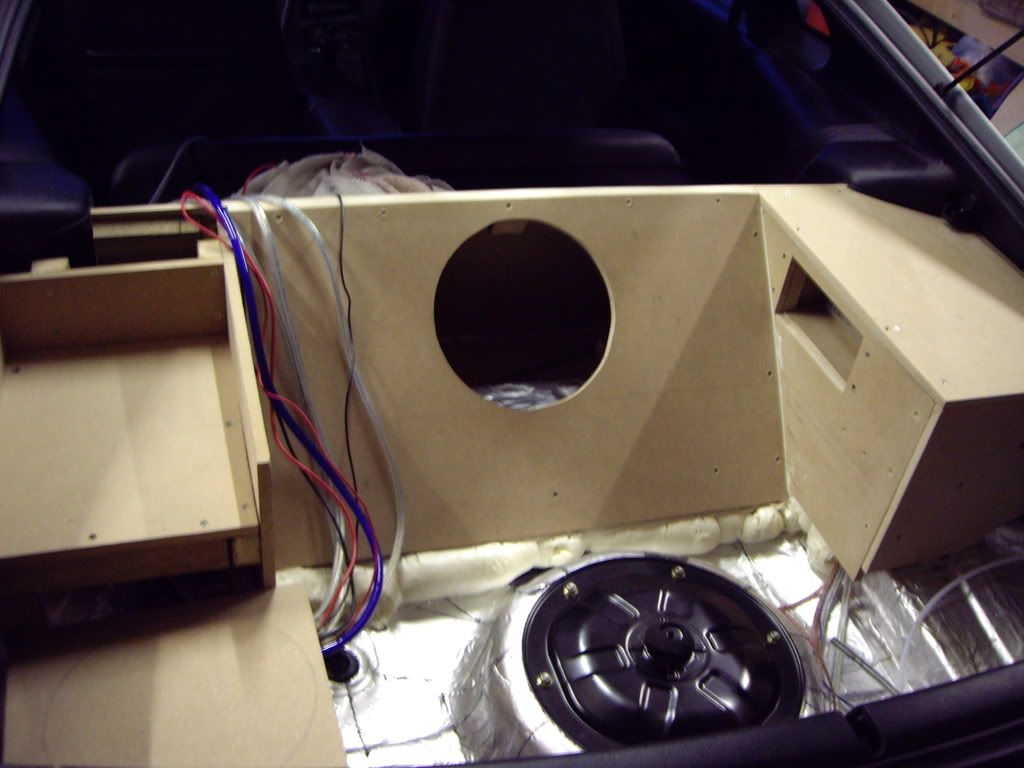
__________________
Kev To be single is to be skint
|
|
|
|
|
23rd September 2008, 10:29 PM
|
#3 |
|
Officially NOT in Wales!
UK Spec - Manual Join Date: Oct 2005
Location: Bristol
Posts: 4,130
|
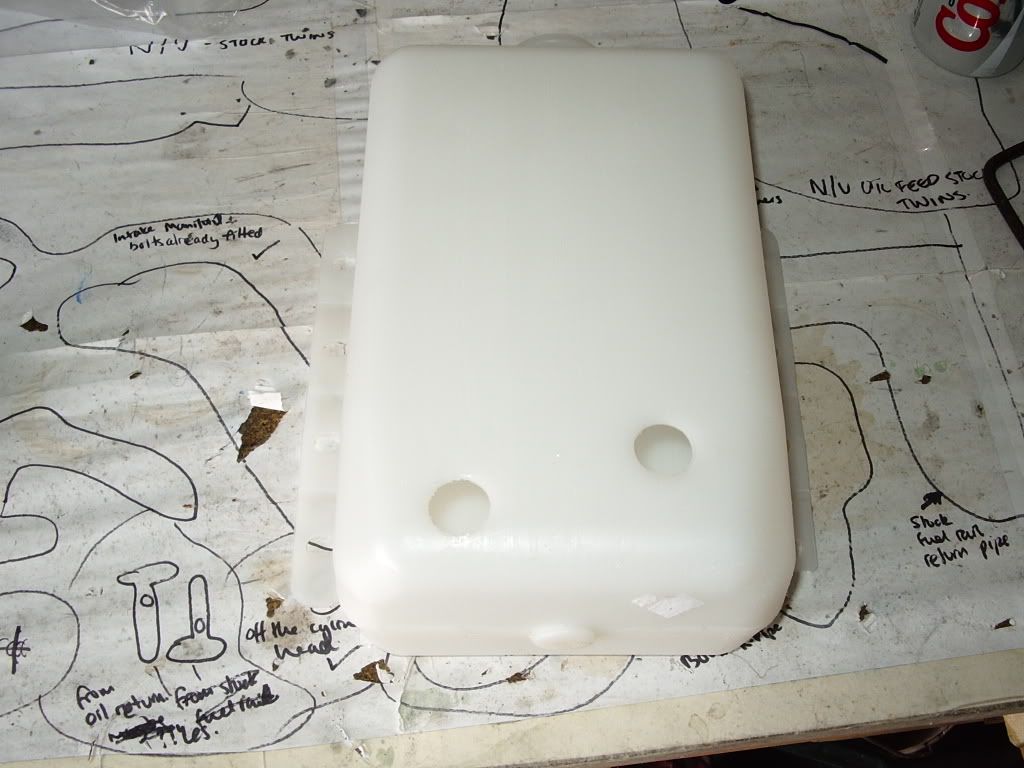
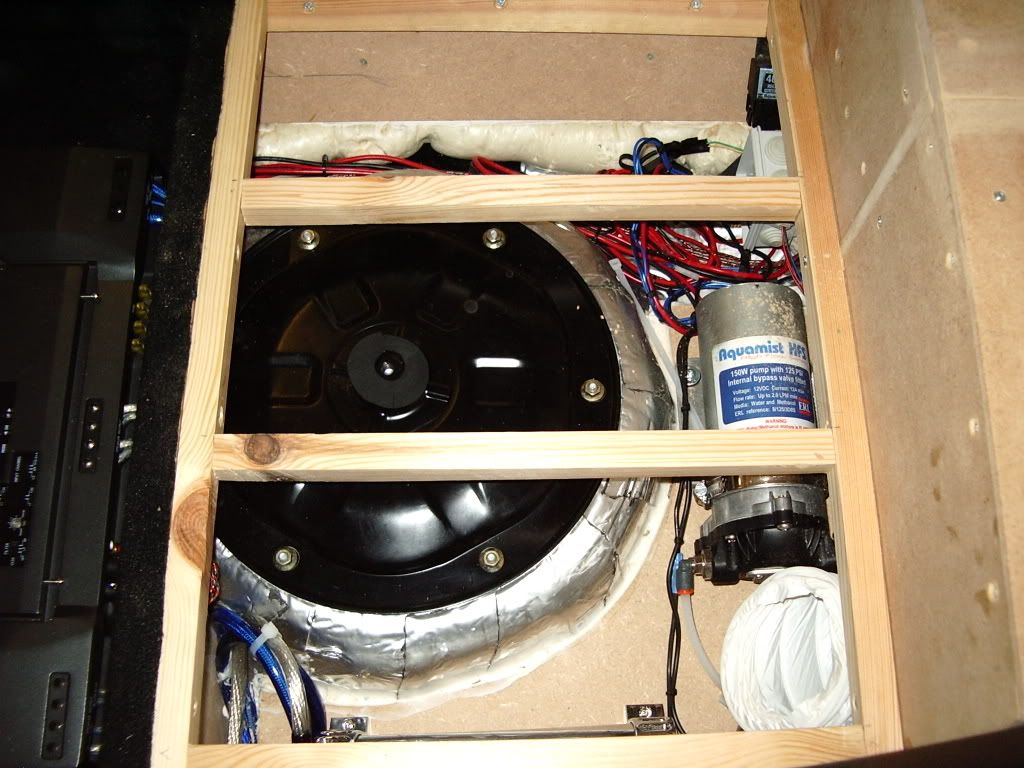
I bought the aquamist HS-5 kit a while ago and searched the internet for a suitable water bottle. I eventually found the same style bottle that comes with the AEM water injection system. I got this from the states. I should have the website if anyone needs to know. I had to drill two holes in it. One for the water level sensor and one for the actual pipe to connect to:
 Parts connected (I done a water leak test before I fitted it  ): ):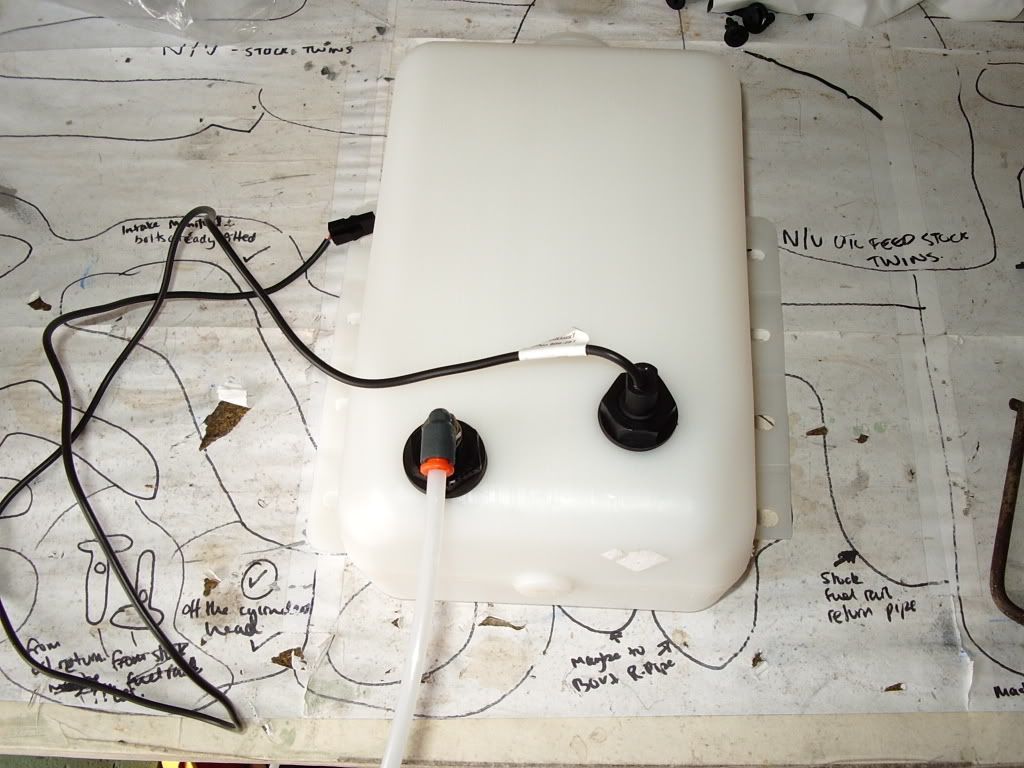 I wanted to somehow incorporate the bottle in the build and hide it with only the screw lid showing, so fitted it the the end of the multichanger section: 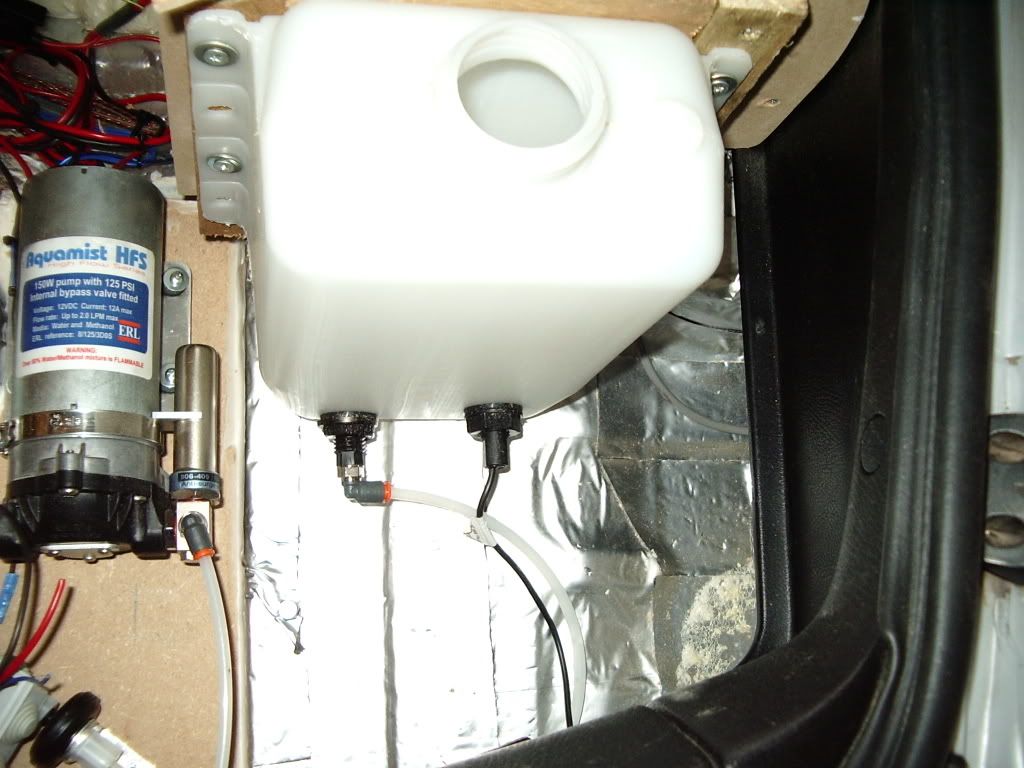 I also had the pump to place somewhere, so thought I would hide this under the floor section as it isn't that pretty to look at: 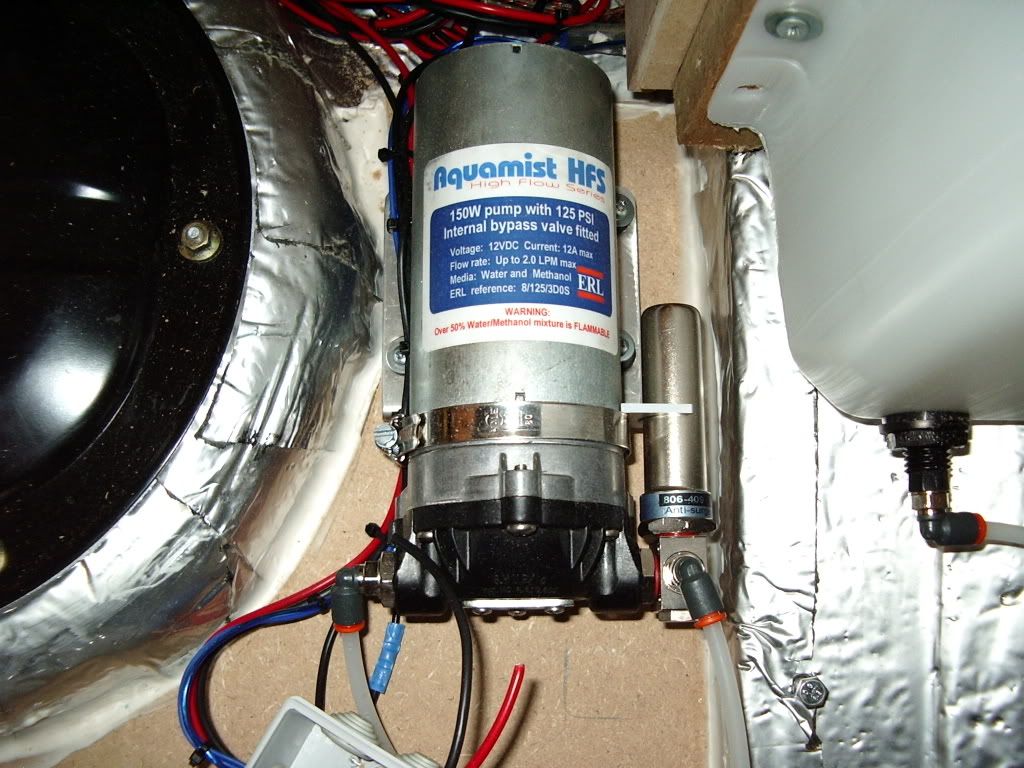 As I intended to put the amps under the floor, I thought it would be best to get some form of cool air down to them, so I put one fan in to blow the air in and one to suck it out: 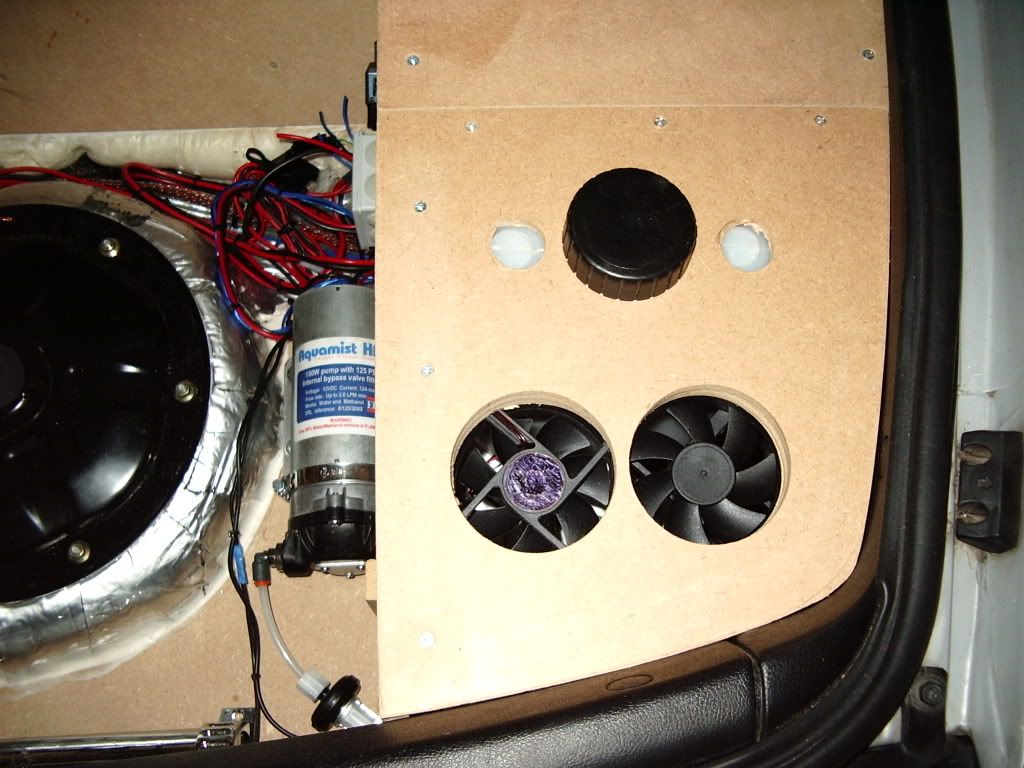 After building the bottom of the false floor it was now time to work out where the amps were going to go. This took a bit of time as I wanted it to look tidy: 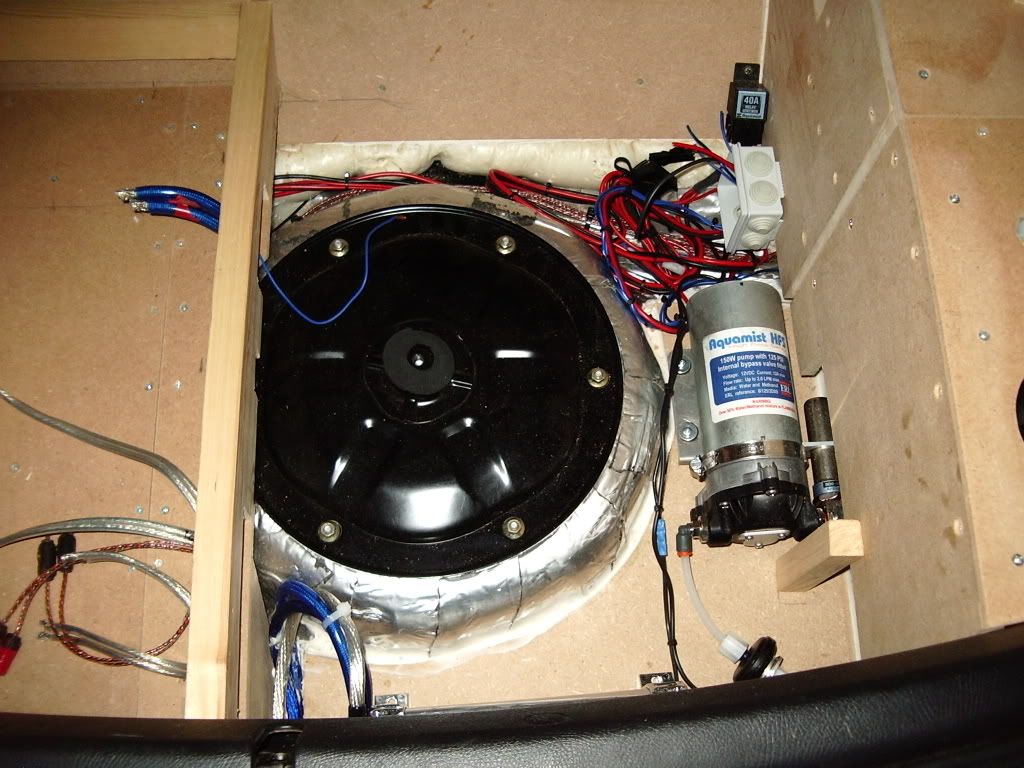 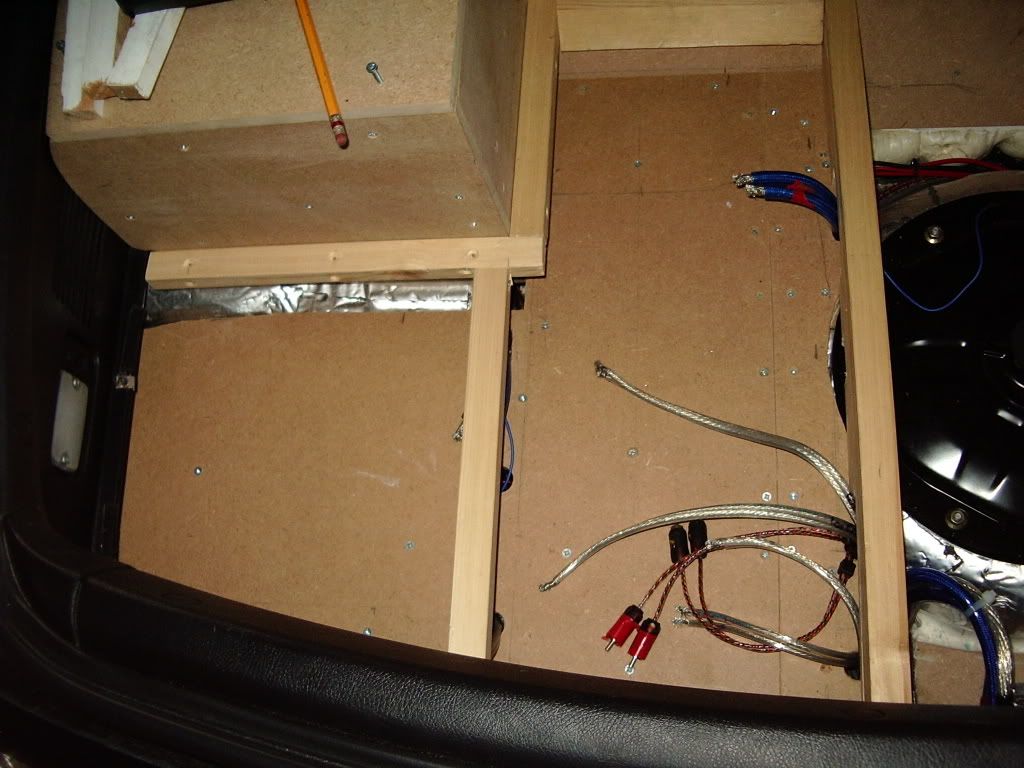
__________________
Kev To be single is to be skint
|
|
|
|
|
23rd September 2008, 10:44 PM
|
#4 |
|
Officially NOT in Wales!
UK Spec - Manual Join Date: Oct 2005
Location: Bristol
Posts: 4,130
|
It was now time to sort out the supports for the actual floor. I intended to use MDF to cover the pump up and perspex for the amps. I also fitted a 1 farad capacitor under the floor. You can just about make it out in the bottom of this picture:
 Here's a junction box with a 12 volt trigger relay inside that is used to turn the fans on. The relay is triggered by the 'remote' cable from the head unit: 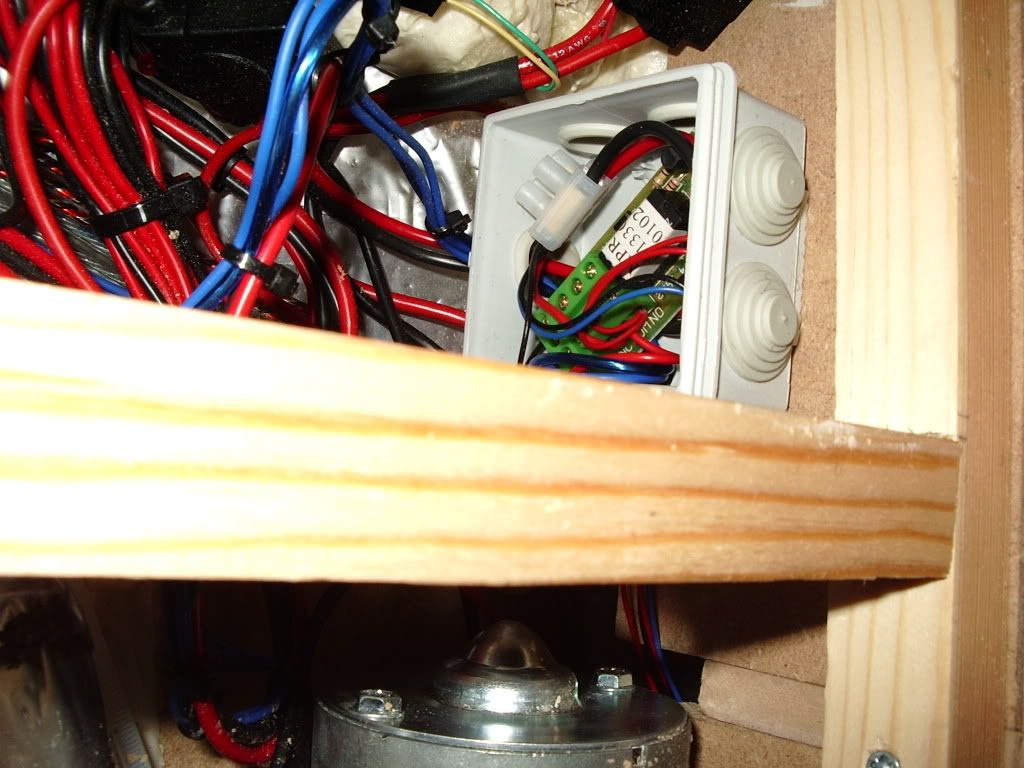 Inorder to cut the MDF and the perspex perfect I enlisted the help of my dad together we used thin cardboard to mark the shapes. Cutting the perspex was fun. We used a jigsaw but the blade got so hot so quickly that it was cutting though the perspex, then the half melted perspex was joining back together. It was only at this point we slowed the speed of the jigsaw down  Final result before getting covered in acoustic carpet: Final result before getting covered in acoustic carpet: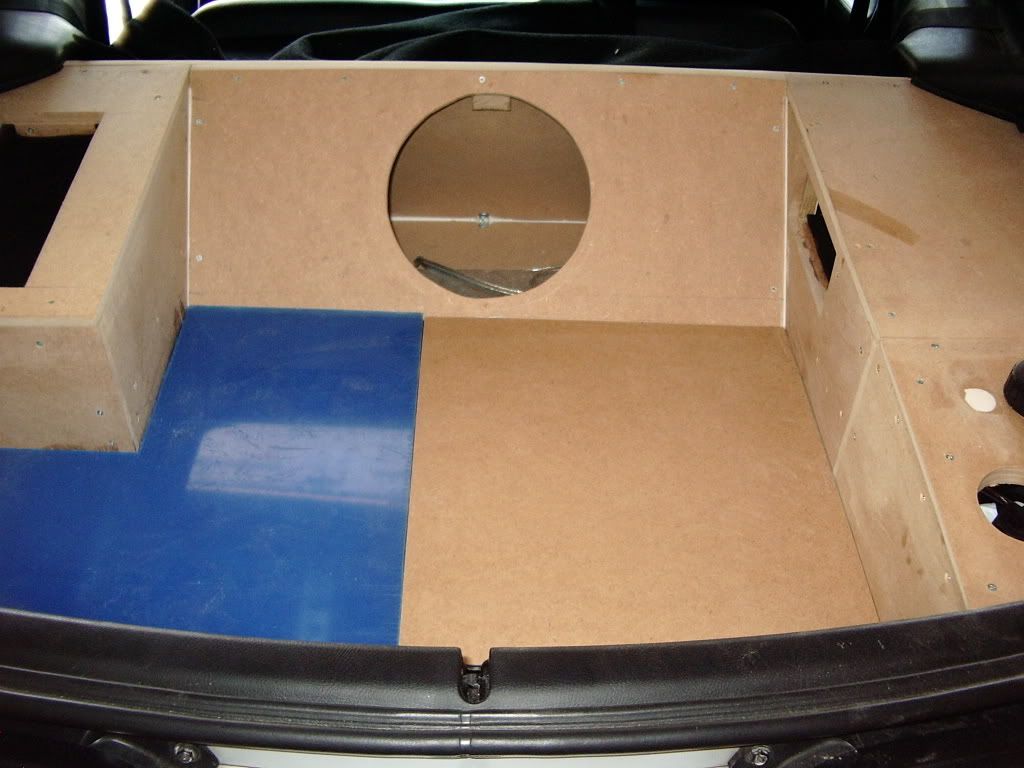 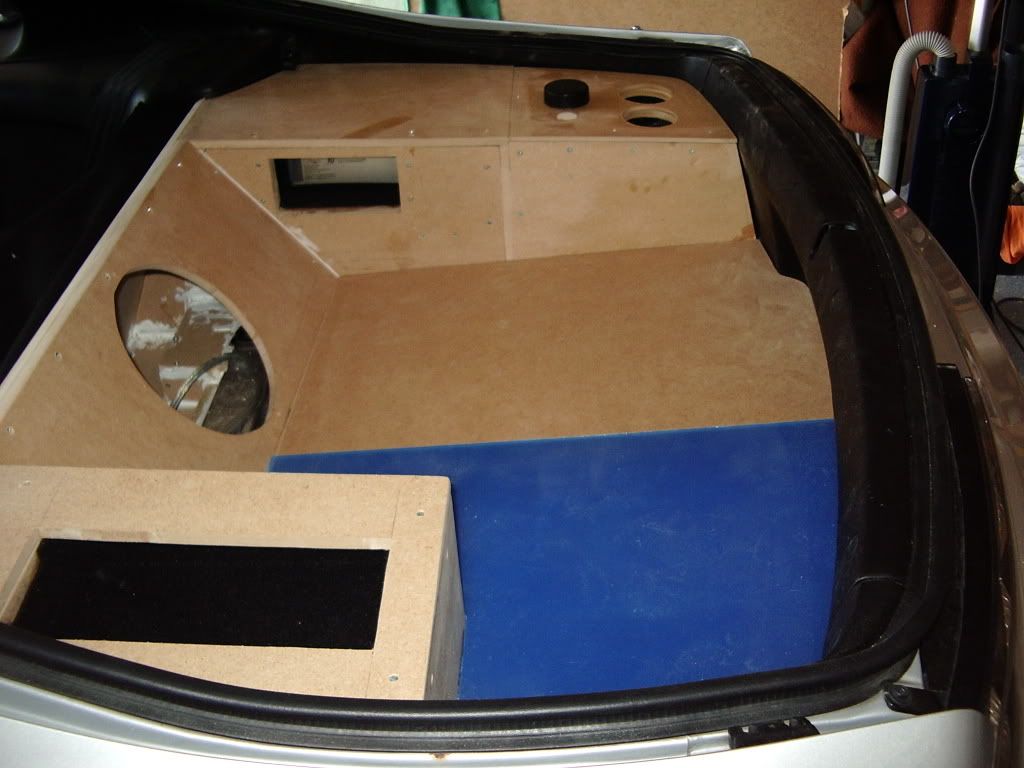 I bought the acoustic carpet from my local car audio shop, but wanted something of better quality for the boot mat so contacted Vinny from Gibson Trimming, who sent me through a sample of Porsche carpet. This was perfect and pricey . I didn't mind too much as I only needed a small amount and it was such a great quality material. A few days later it turned up (you can see the sample in the bottom of the picture):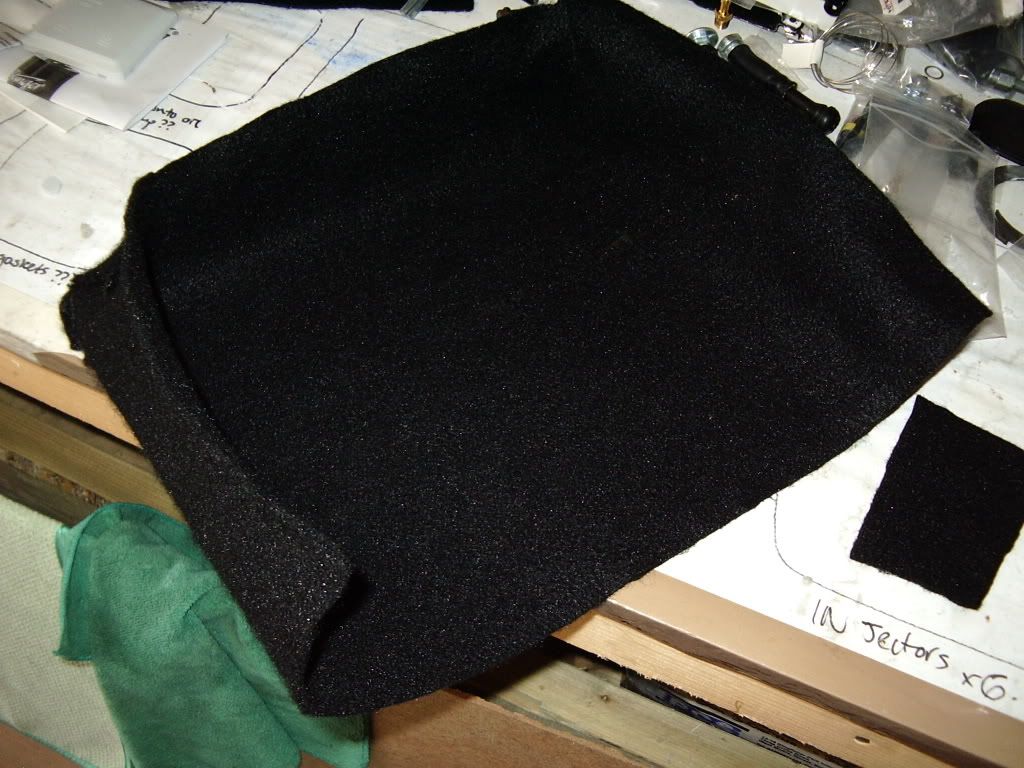
__________________
Kev To be single is to be skint
|
|
|
|
|
23rd September 2008, 10:47 PM
|
#5 |
|
Officially NOT in Wales!
UK Spec - Manual Join Date: Oct 2005
Location: Bristol
Posts: 4,130
|
The final results, boot carpet removed to reveal the amps(I have since fitted the silver covers to them now that they have been set up):
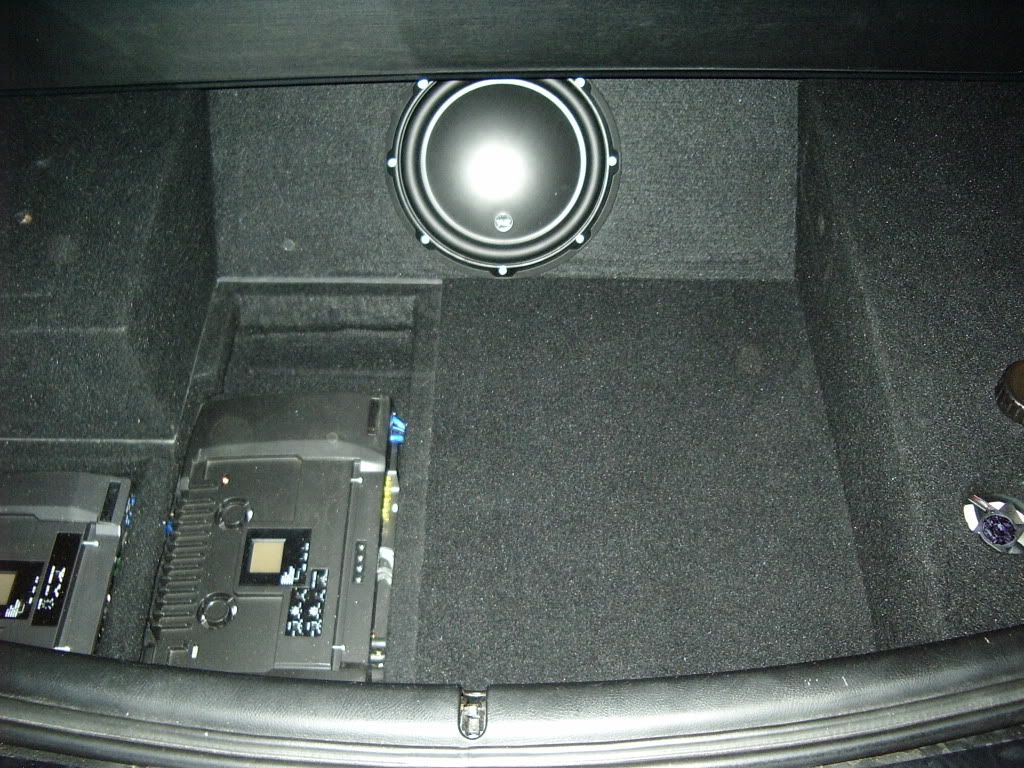 Boot carpet inplace: 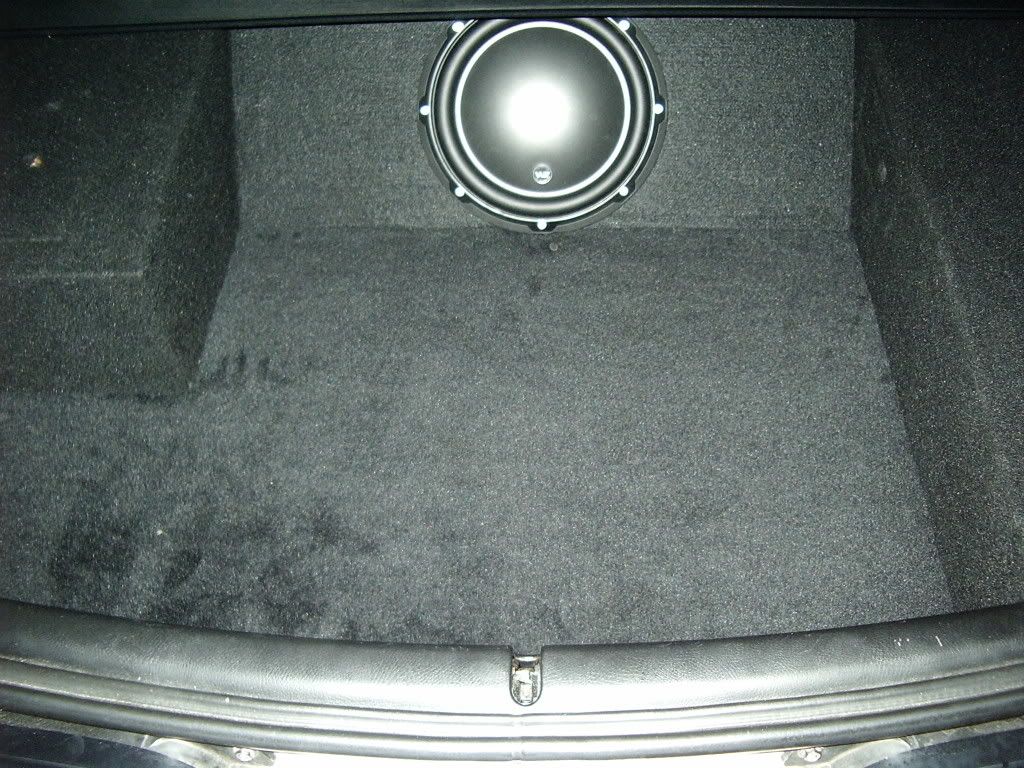 I have also bought some small covers to go over the fans to stop anything getting into them. I'd like the thank my mate Paul who as always was along side me through out to help, Vinny for the carpet and Kyle from Velocity Performance for suppling most of the ICE gear at a very reasonable price, thanks guys 
__________________
Kev To be single is to be skint
|
|
|
|
|
24th September 2008, 05:56 AM
|
#6 |
|
Senior Member

Jap Spec RZ - Auto (TT) Join Date: Nov 2006
Location: Devon
Posts: 934
|
Very nice work Kev - and congrats on not going down the Bling route. OEM looks far far nicer and much more subtle.
Now that you've ditched your spare wheel it looks like you've almost got as much boot space as before left over - is that true? Love the carpet too. 
|
|
|
|
|
24th September 2008, 06:52 AM
|
#7 |
|
MSOC on winner's podium

UK Spec - Auto Join Date: Sep 2004
Location: Wiltshire. UK
Posts: 3,586
|
Cracking write up Kev.
I have seen the finished job and I have to say I was very impressed, you can just see the amount of thought that has gone into the build, like everything Kev turns his hand to, it's a superb job. I'm not a huge fan of most of the big ice install's that are around but this must come close to being the ideal solution, looks and sounds great but no horrible OTT mess when you lift the boot.
__________________
 Barney (A Timex watch in a digital age) Barney (A Timex watch in a digital age)Lexus Royal Sapphire Blue 94UKMKIVTT Auto + Bits + Chris Wilson magic! PEOPLE SHOULD NOT BE AFRAID OF THEIR GOVERNMENTS. GOVERNMENTS SHOULD BE AFRAID OF THEIR PEOPLE |
|
|
|
|
24th September 2008, 07:09 AM
|
#8 | |||||
|
[52.4 Miles] 50 MC 8:41

None - Don't currently own a MKIV Supra. Join Date: Nov 2004
Location: Essex, UK
Posts: 4,945
|
That looks like a hell of a lot of work. Finished product looks really good.
__________________
Matt Biggin Website Administrator | Micra Owner | Ultrarunner |
|||||
|
|
|
|
24th September 2008, 09:57 AM
|
#9 |
|
Old Timer

None - Don't currently own a MKIV Supra. Join Date: Jan 2005
Location: west mids
Posts: 4,196
|
Looks really good Kev
Sot thats why youve gone single to tow all that extra weight around 
__________________
dunk |
|
|
|
|
24th September 2008, 01:38 PM
|
#10 |
|
Old Timer
UK Spec - Auto Join Date: Dec 2003
Location: no where
Posts: 1,612
|
That looks stunning Kev
|
|
|
|
|
| Currently Active Users Viewing This Thread: 1 (0 members and 1 guests) | |
|
|


 Linear Mode

